Manuals › Communication › Using the communication tool
Using the communication tool
This guide requires you to be elevated.
Step 1
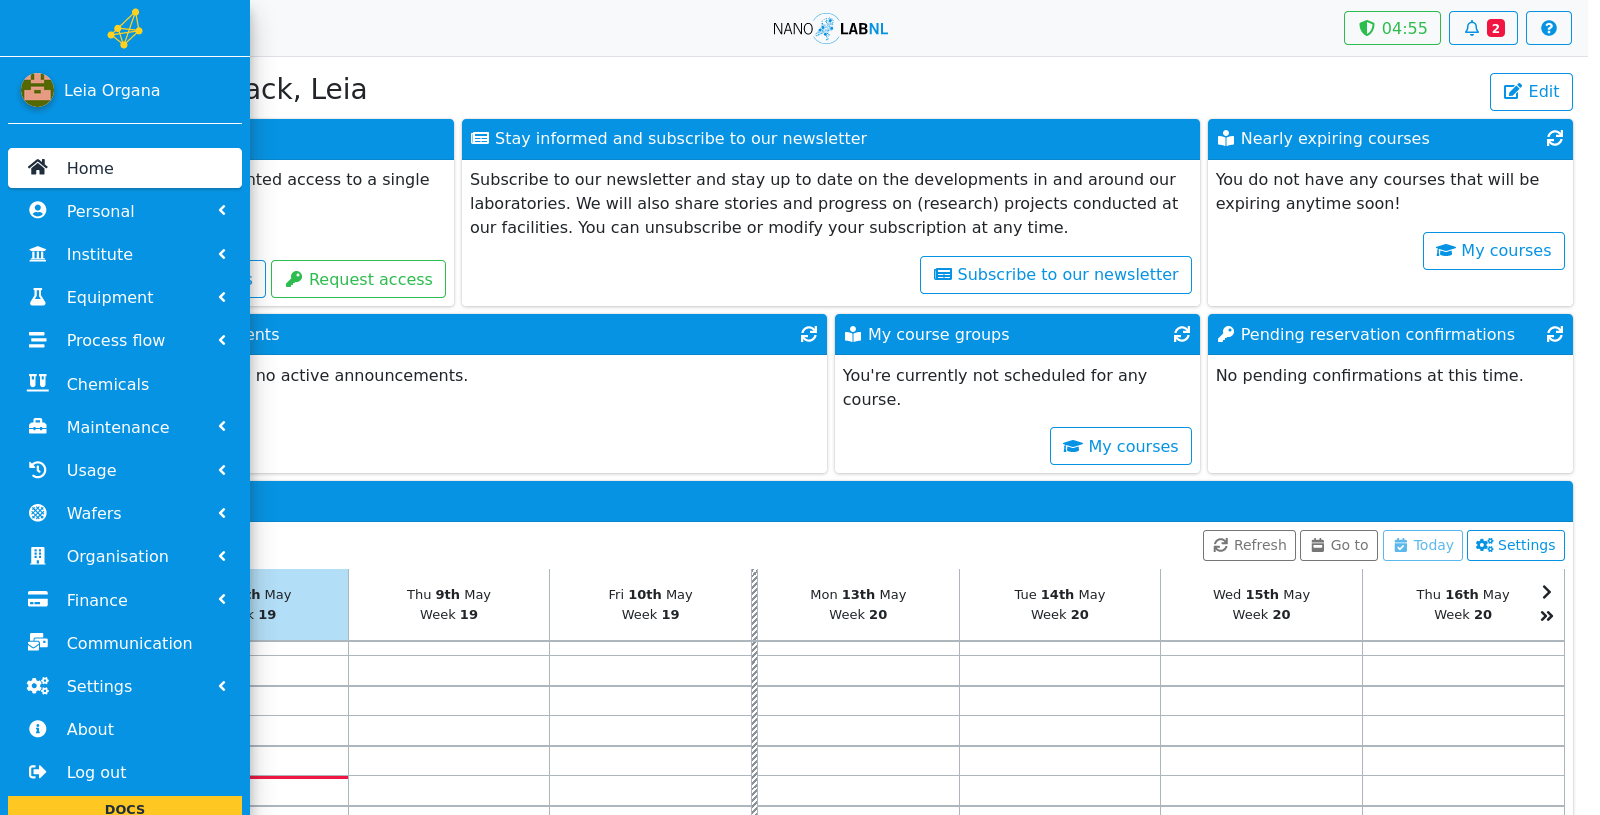
Move your mouse to the left side of the screen to show the navigation bar.
Step 2
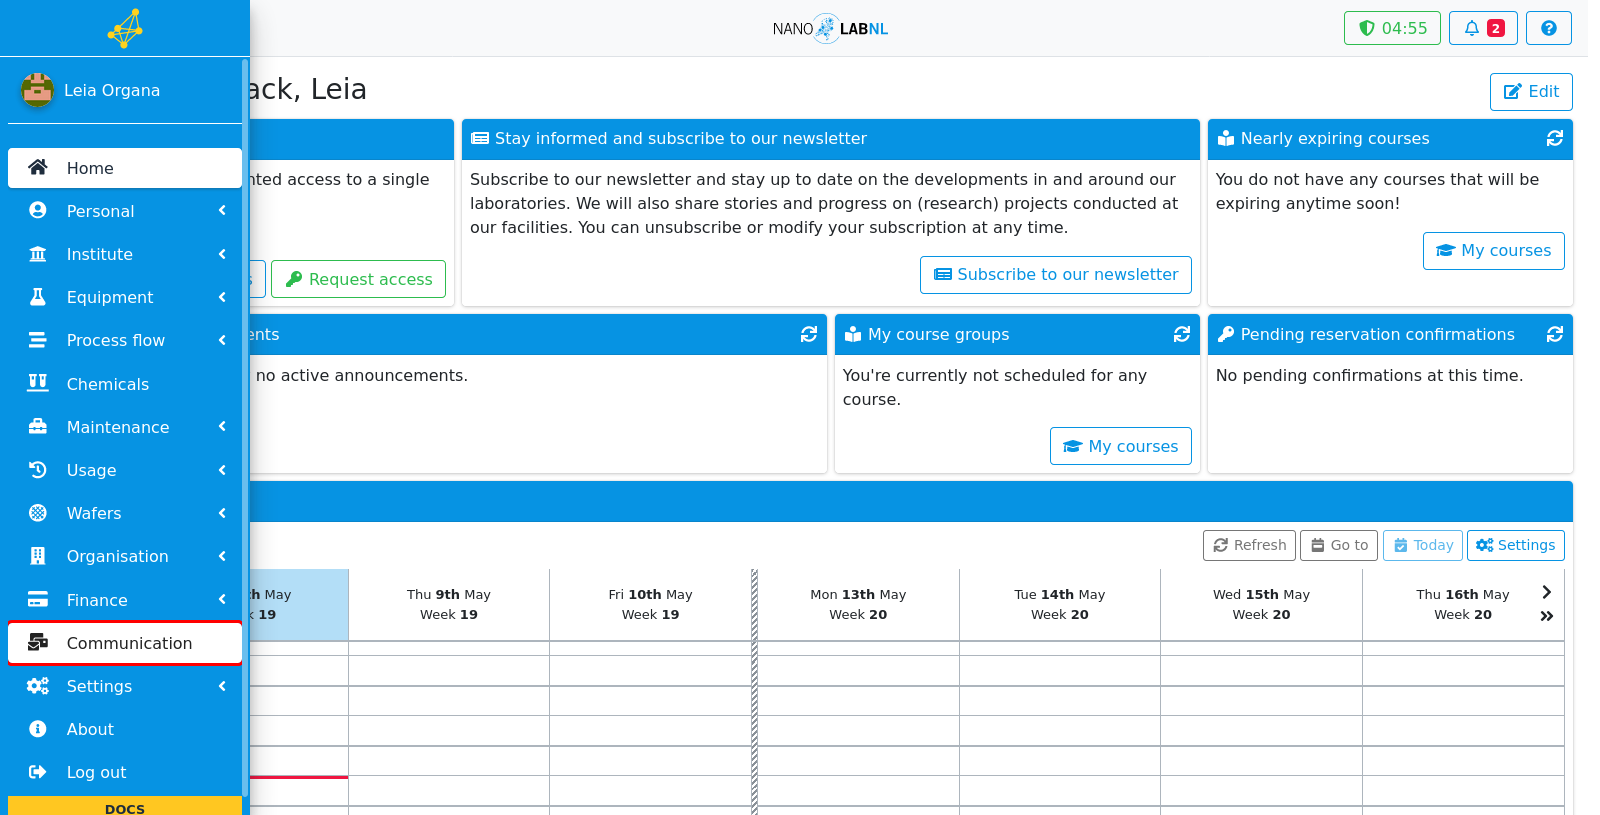
Click "Communication".
Step 3
Select the institute you want to message.
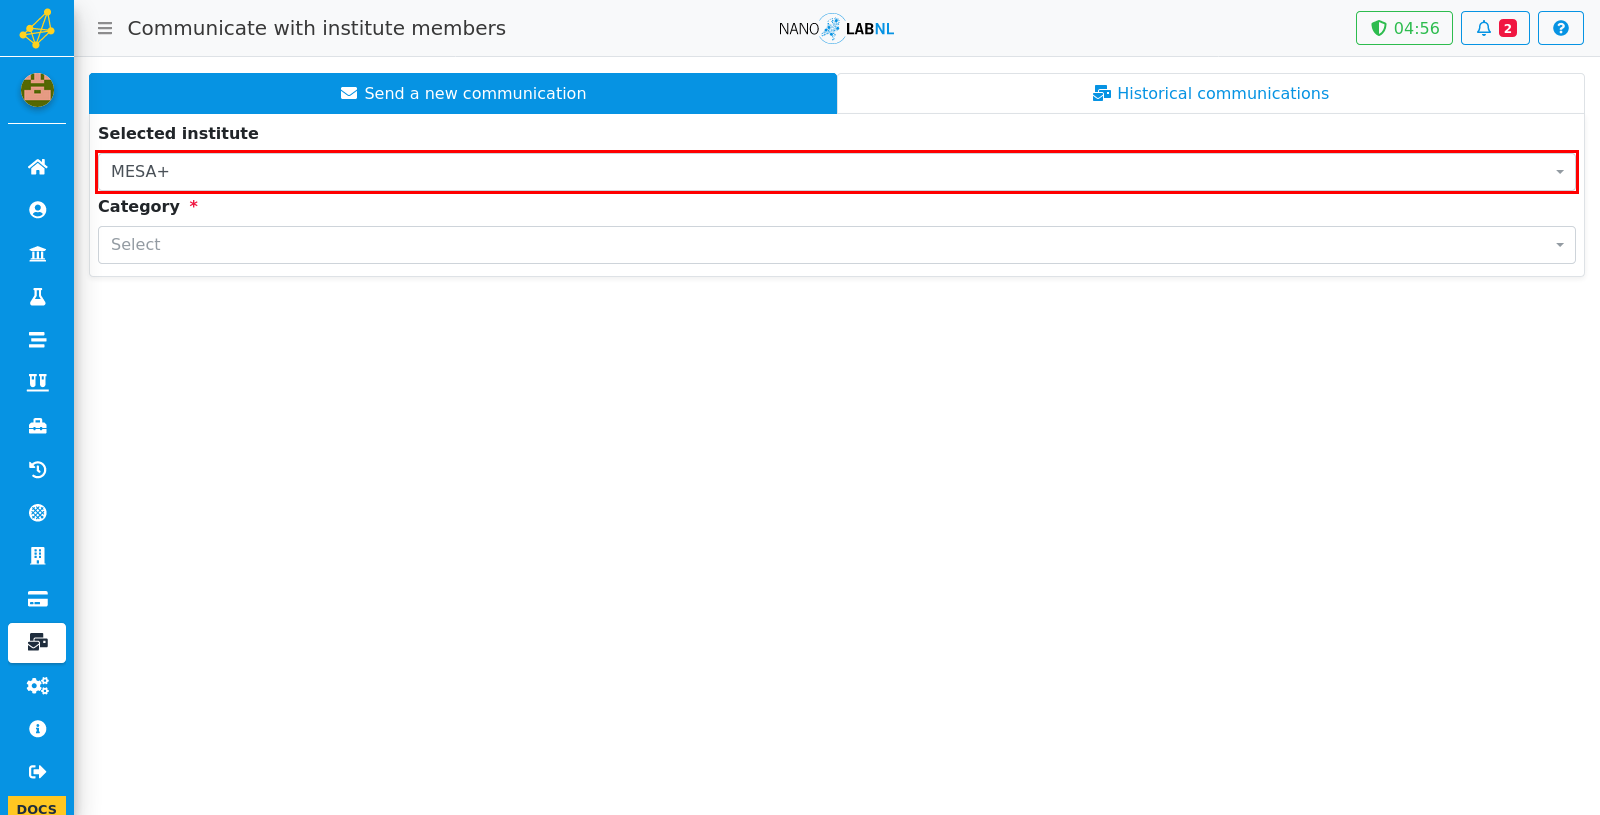
Step 4
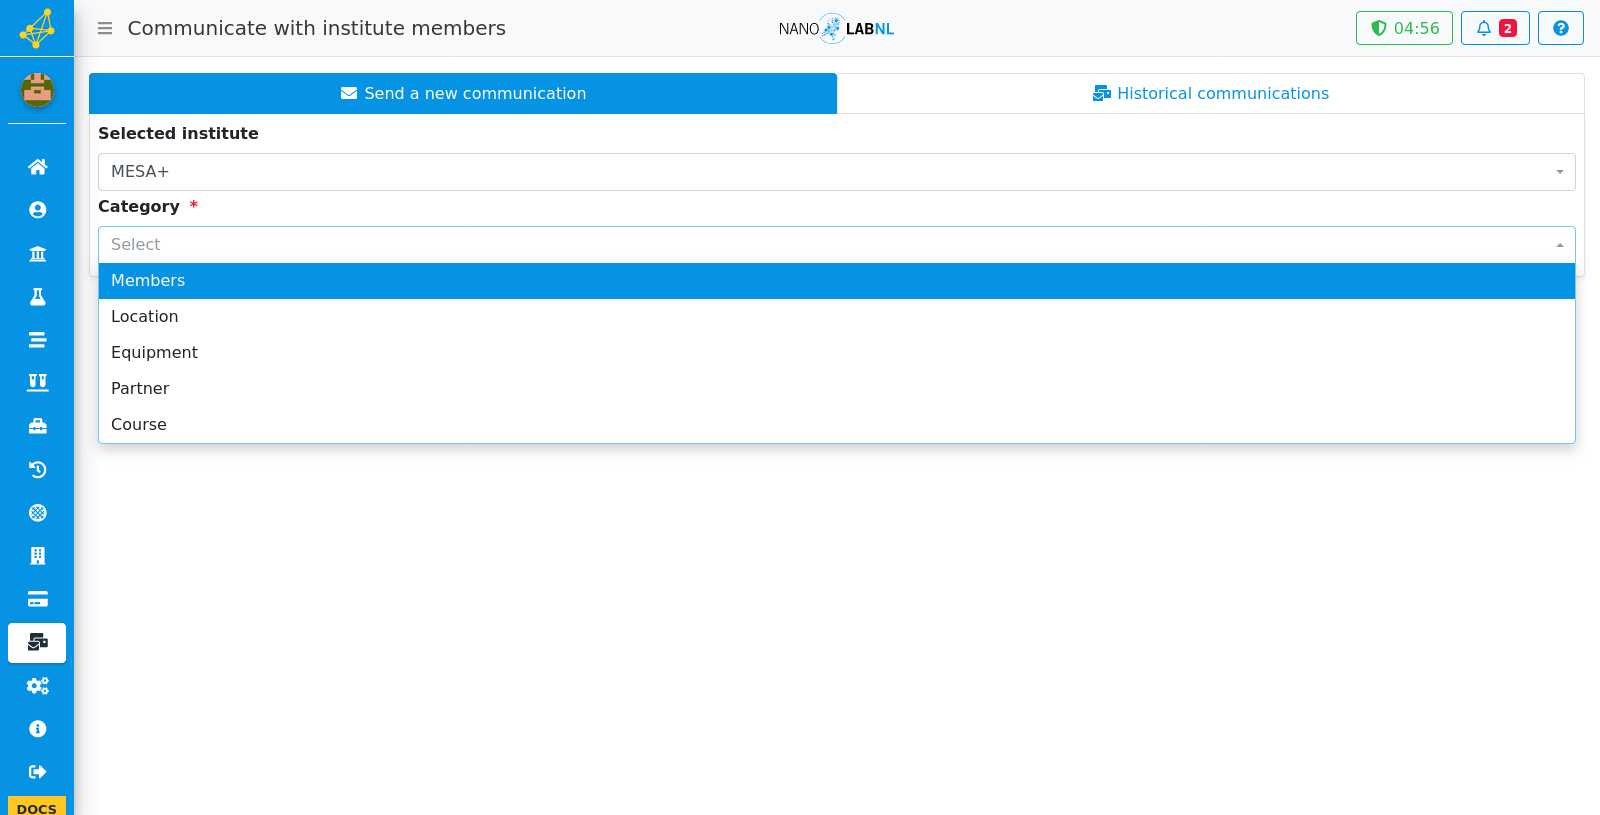
Select the type of category of the people you want to message.
Step 5
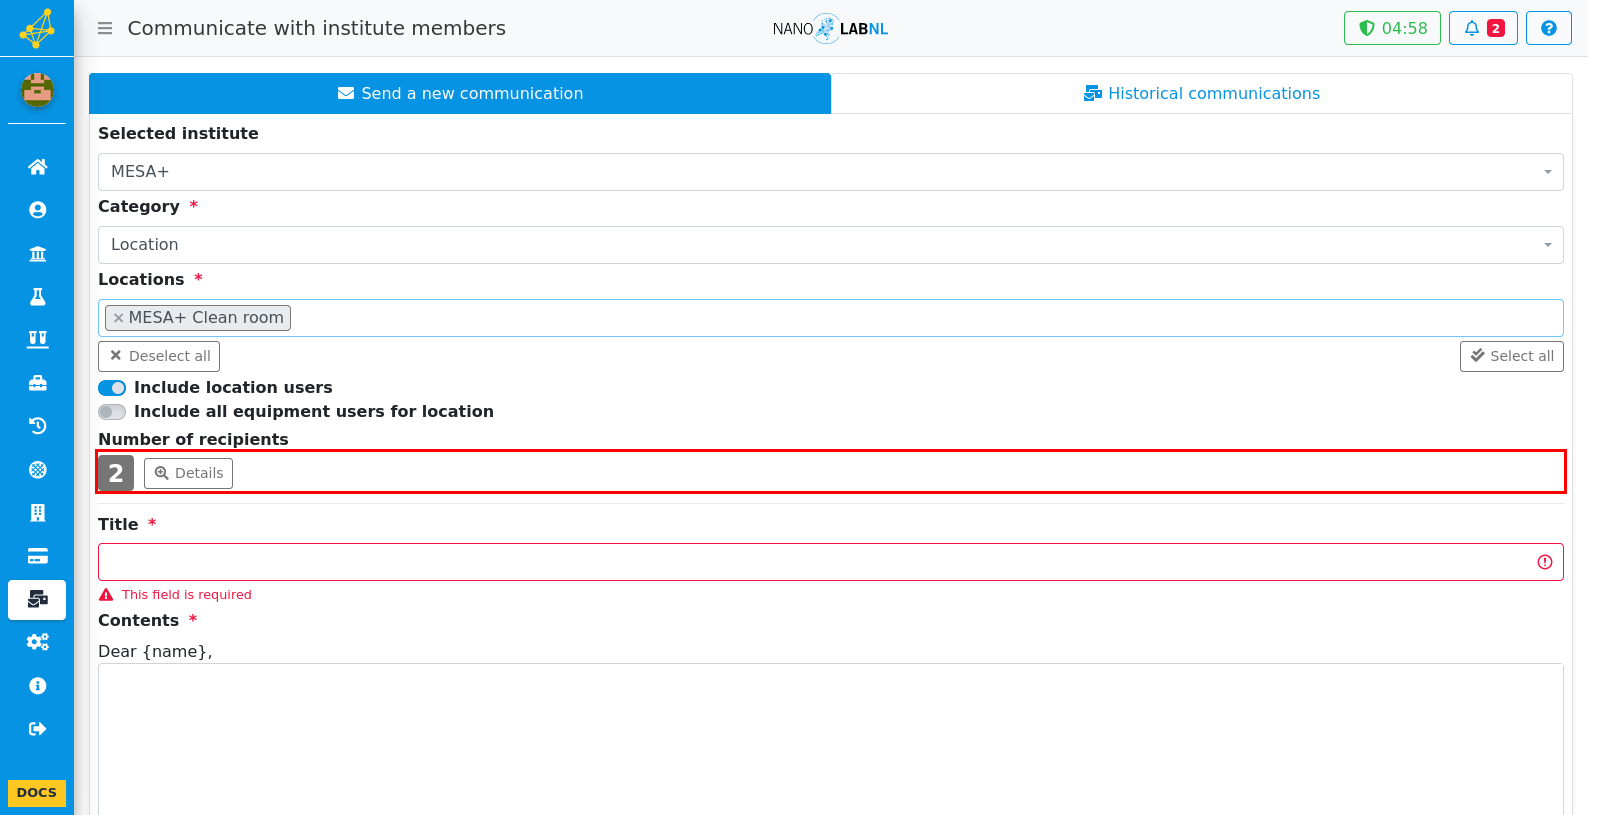
Now you can select people based on the chosen category type. In this example we select people based on their location. Start by searching and selecting a location.

Step 6
After a location is selected the number of recipients changes. You can check the list of recipients by clicking on the "Details" button.
Step 7
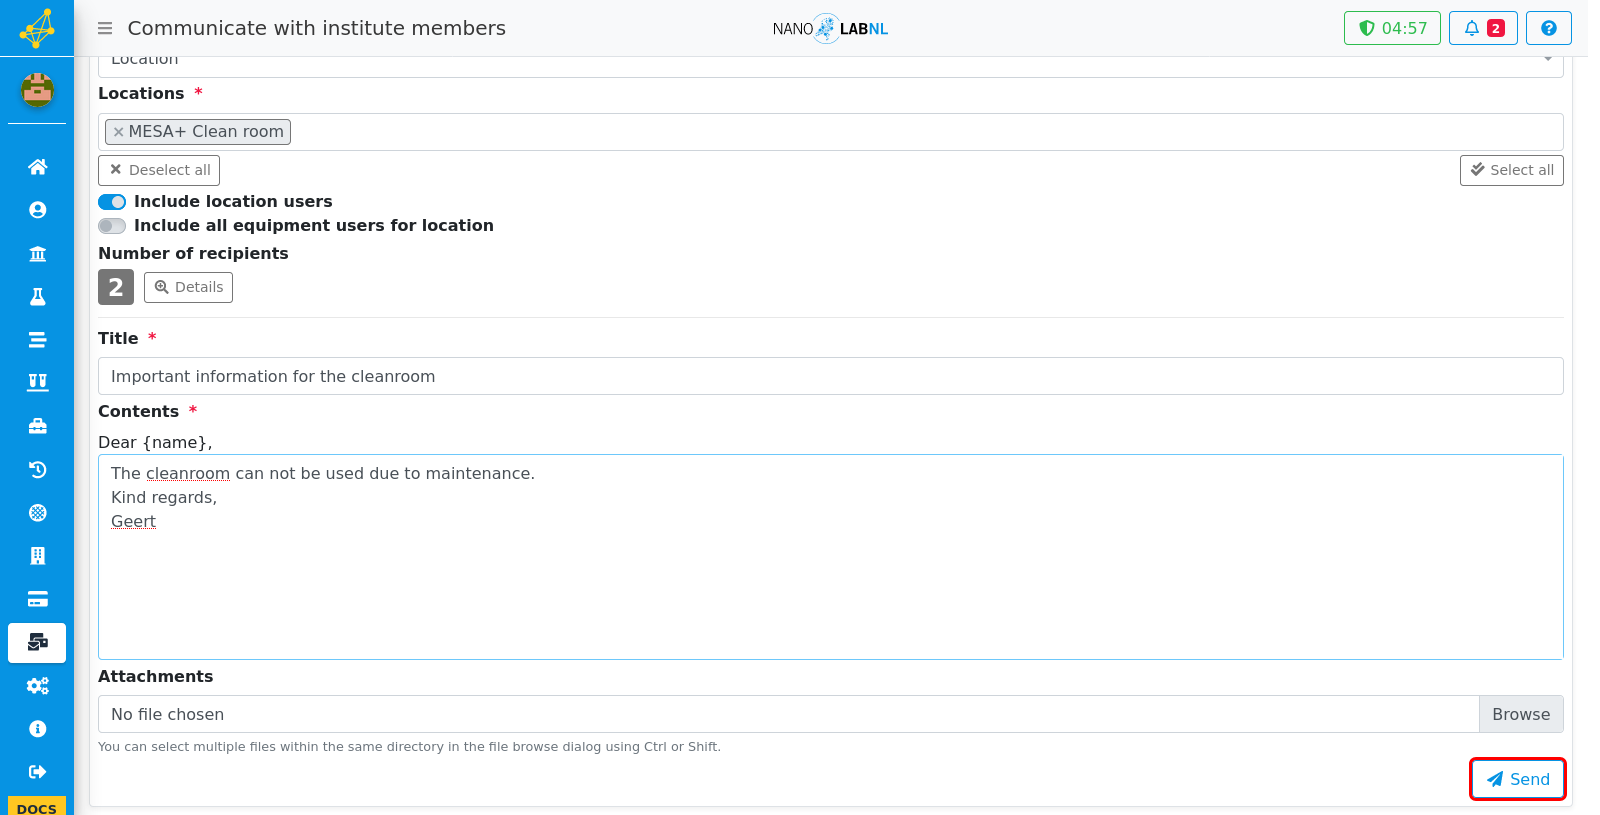
Below you can edit your message and attach a file. A salutation isn't necessary as this will be added automatically. After finishing the message click on send to send it.
Step 8
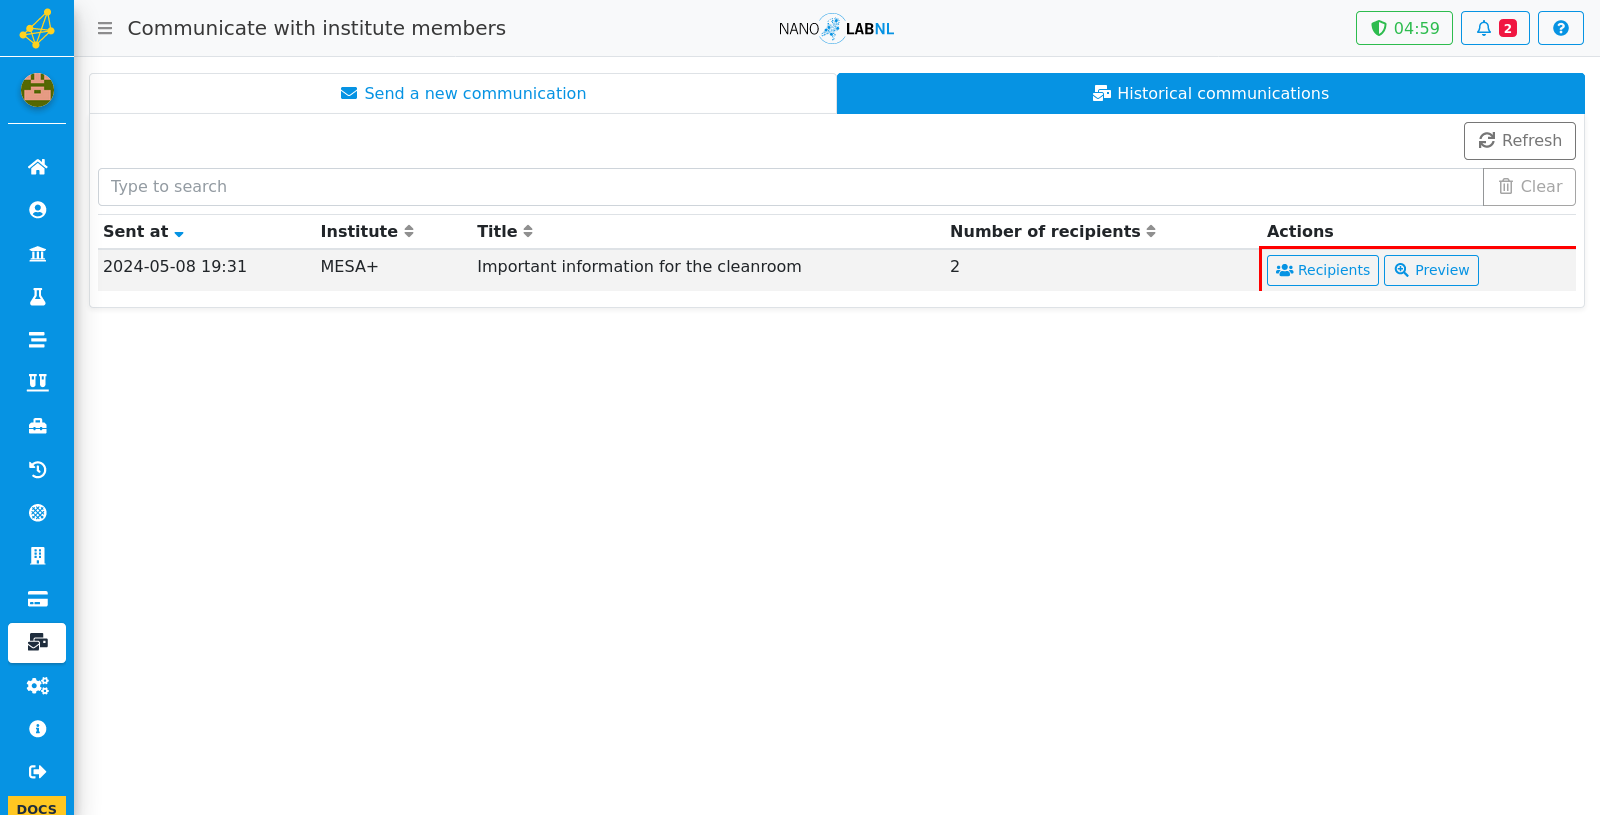
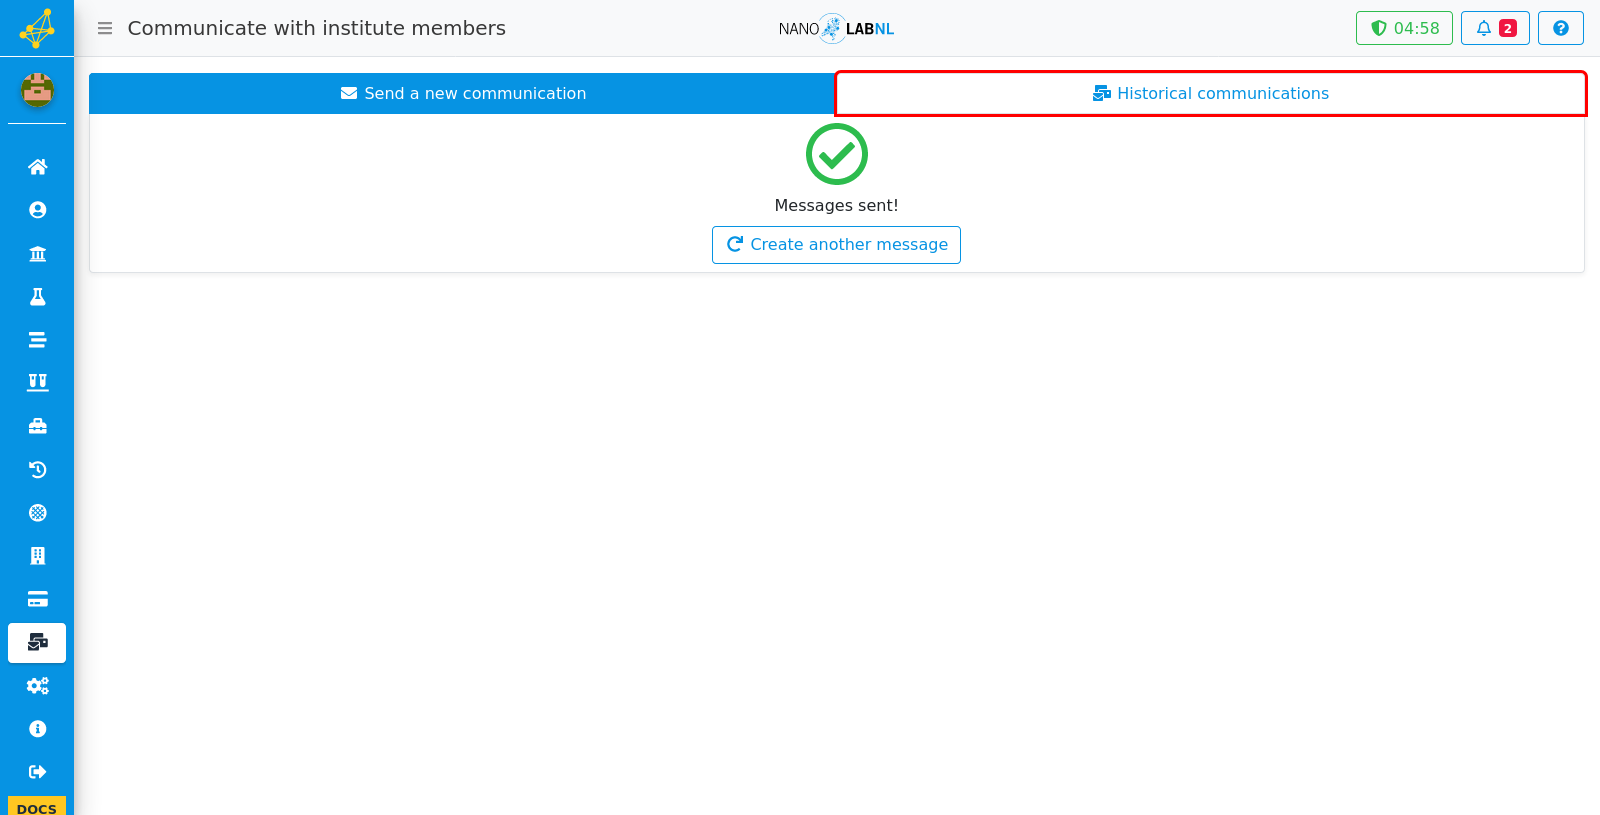
You can view all the messages you have sent by going to the "Historical communications" tab.
Step 9
Here is a list of all the messages you have sent. For every message you can see the recipients and an example of the message by clicking on the corresponding buttons.