Manuals › General › NIS for dummies
NIS for dummies
Welcome to NIS! NIS is the new management system developed for NanoLabNL by Drenso. In this brief guide, we will explain how to get started with NIS.
Step 1
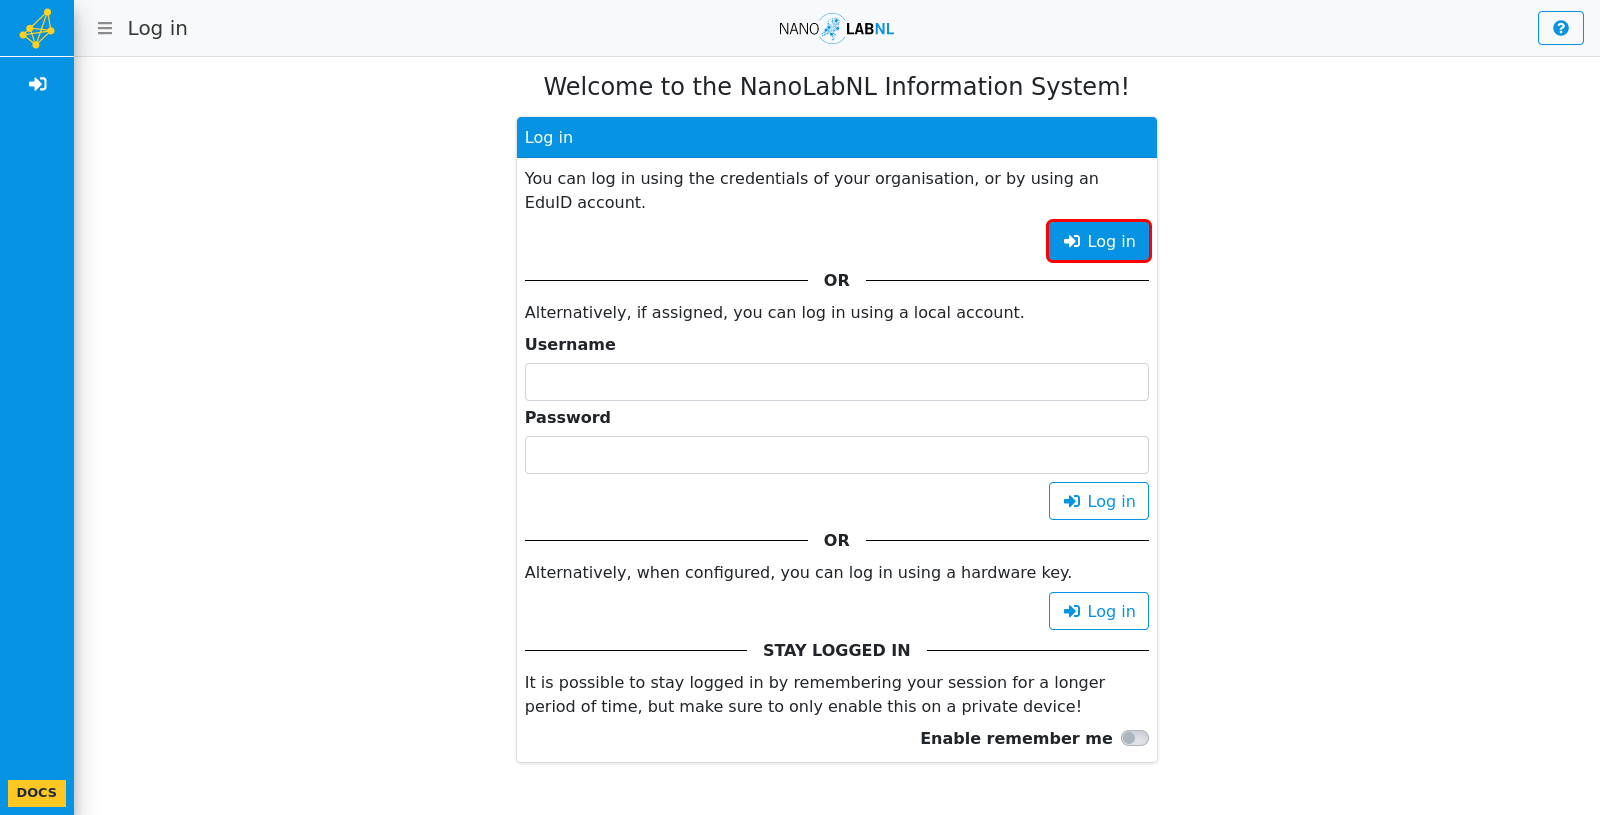
The first page you are greeted with is the login page. There are several methods for logging in. While in some cases, you might have a local account, the most common option would be logging in using your institute account or EduID. This is a service from SURF that provides a shared login system for several educational services. To log in using your account, or to create one, click on "Log in" and follow the basic steps.
Step 2
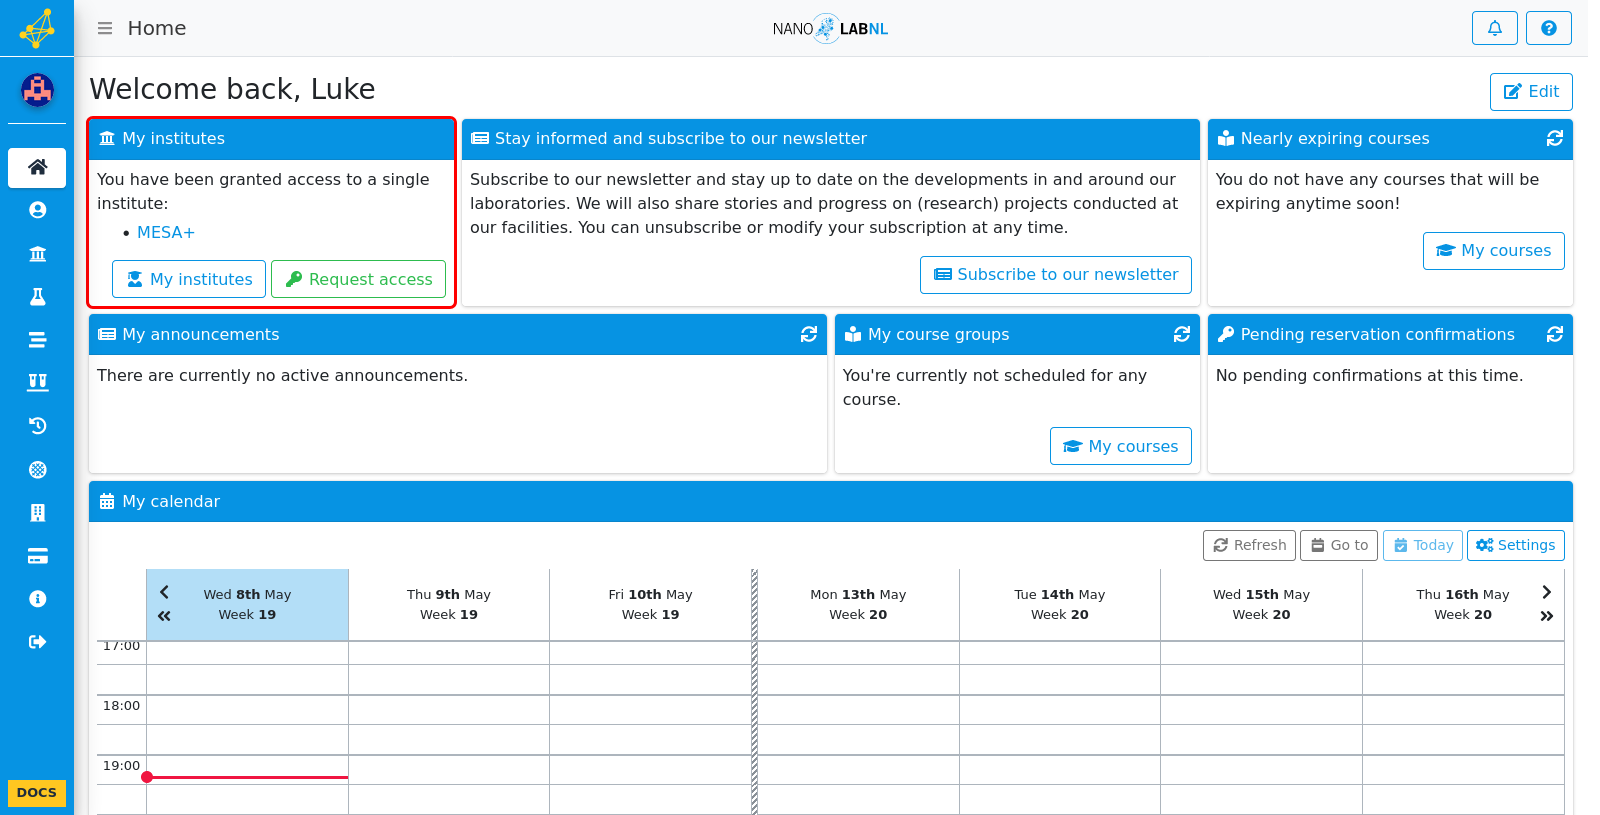
After the login step we arrive at the dashboard. The dashboard shows us some of the most commonly used actions in NIS. For example, the institute we have been added to. The institute would often be the educational institute you are connected to, such as the University of Twente. For most other items on the dashboard, there are other manuals that have more in-depth information about what they do.
Step 3
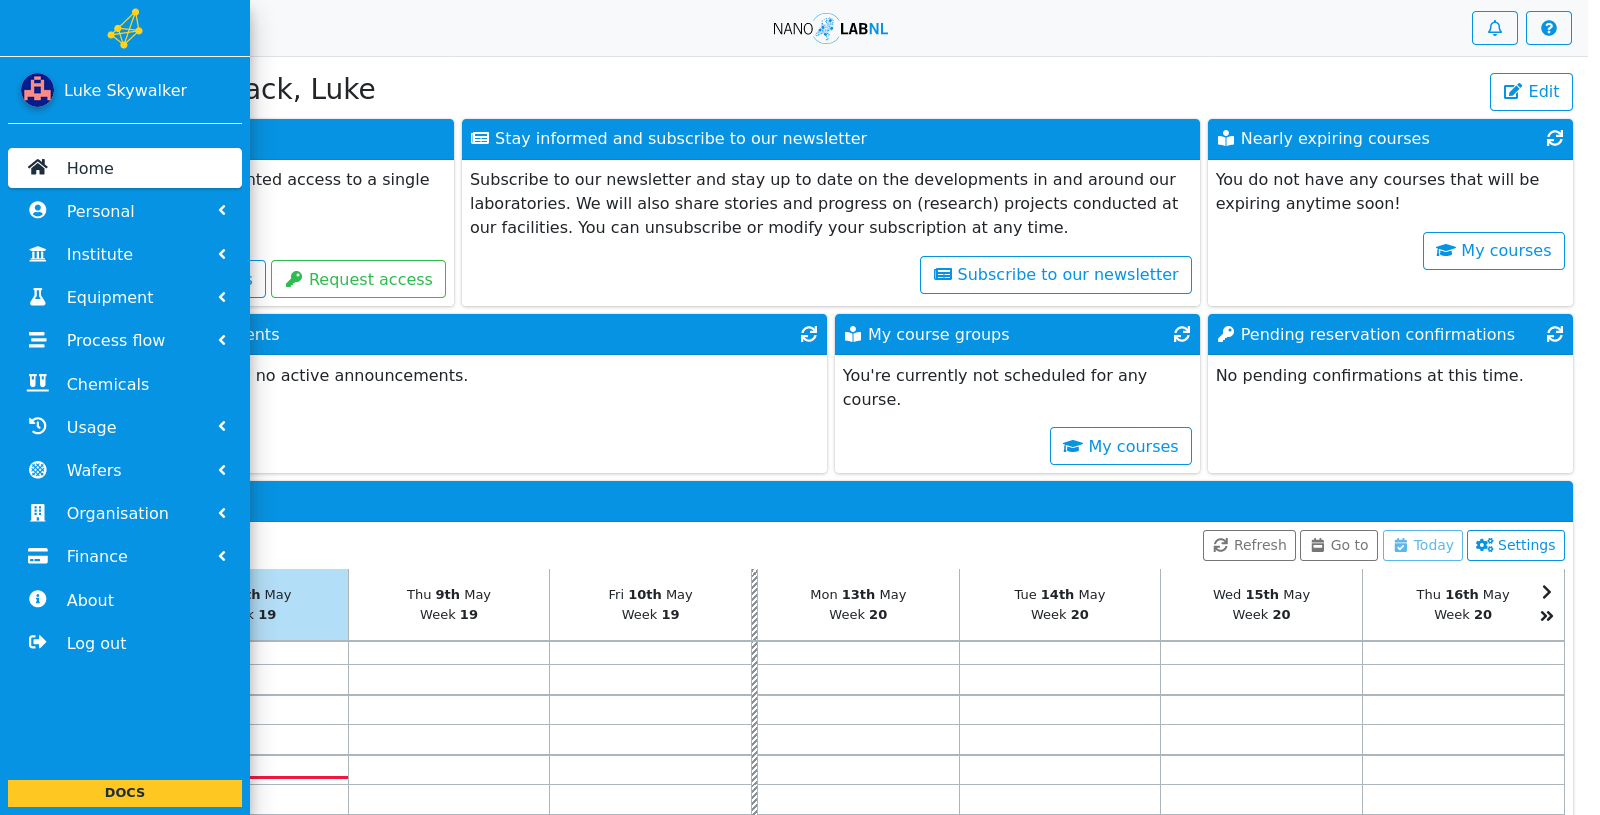
To navigate around the interface, there is a menu on the side. To open this menu, move your mouse to the left side of the screen to show the navigation bar.
Step 4
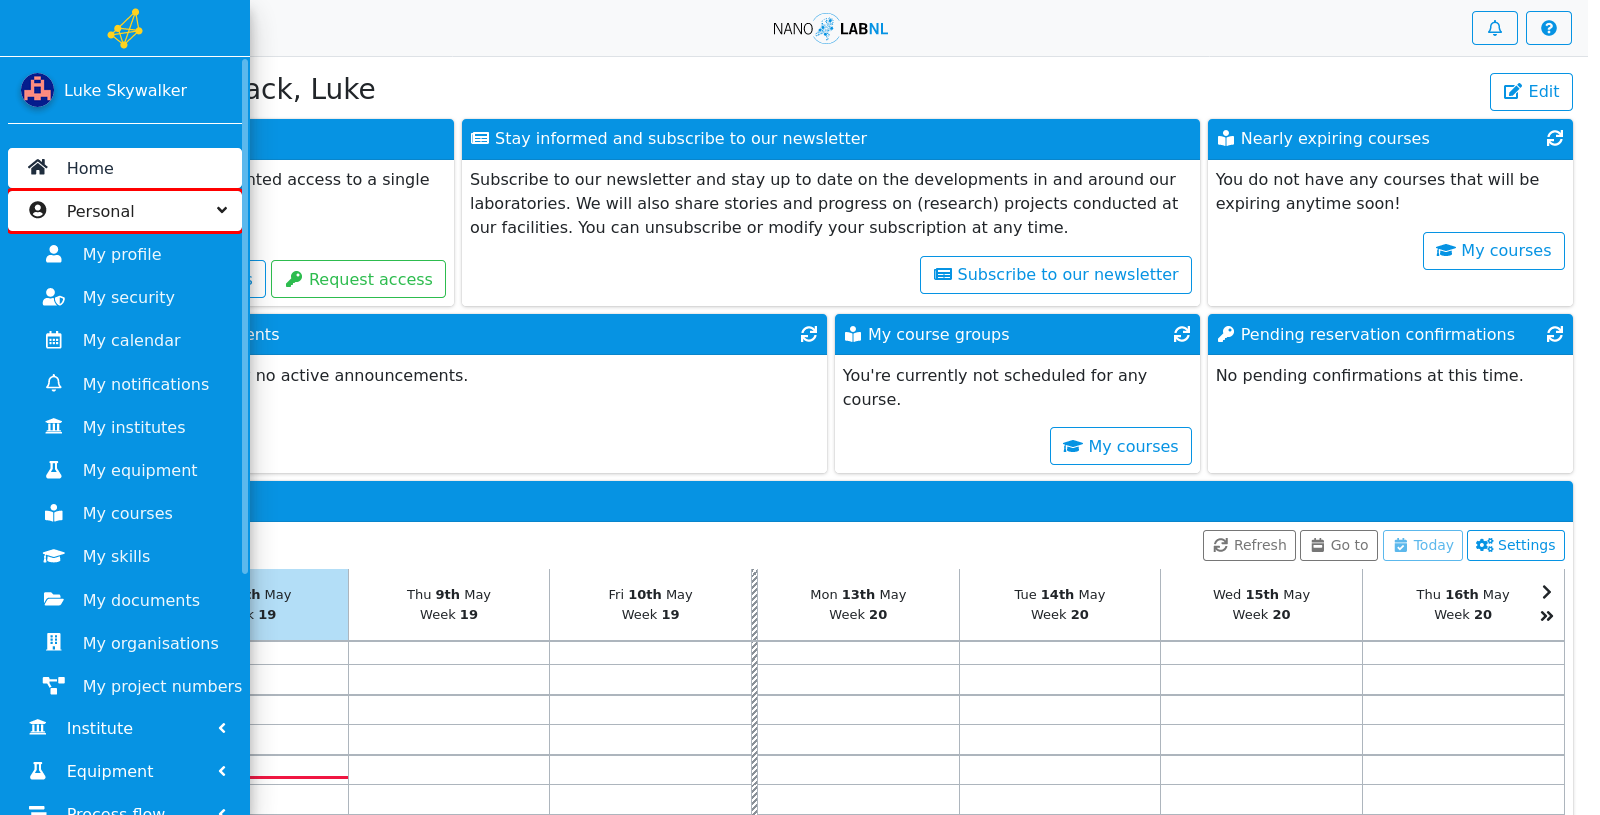
There are different sections related to different functionalities of NIS. For example, the "Personal" section contains all information about you, the currently logged in person. Again, most of these sections are covered in different parts of the manual.
Step 5
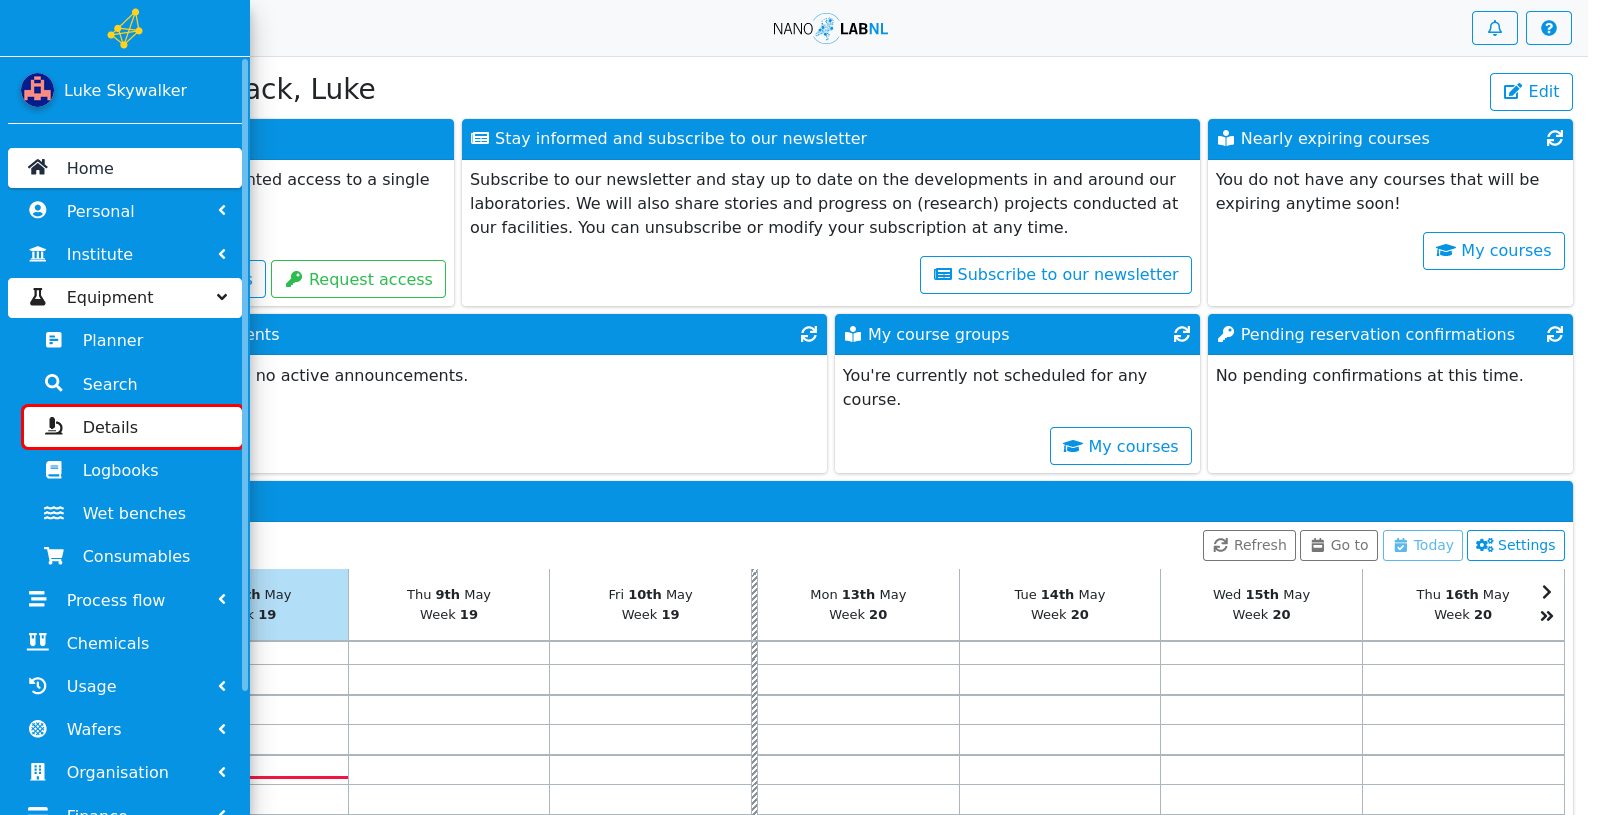
An important part of NIS is the "Equipment" section. In this section, an user can access the equipment planner (that is used for scheduling the usage of a certain piece of equipment), the logbooks (that are used for registering experiments that are conducted at a certain piece of equipment), and consumables (material that is required for using a certain piece of equipment). Each of these options brings us to a page where equipment can be selected, and we can see information and change settings related to the option we are currently in. For example, we can click on "Details".
Step 6
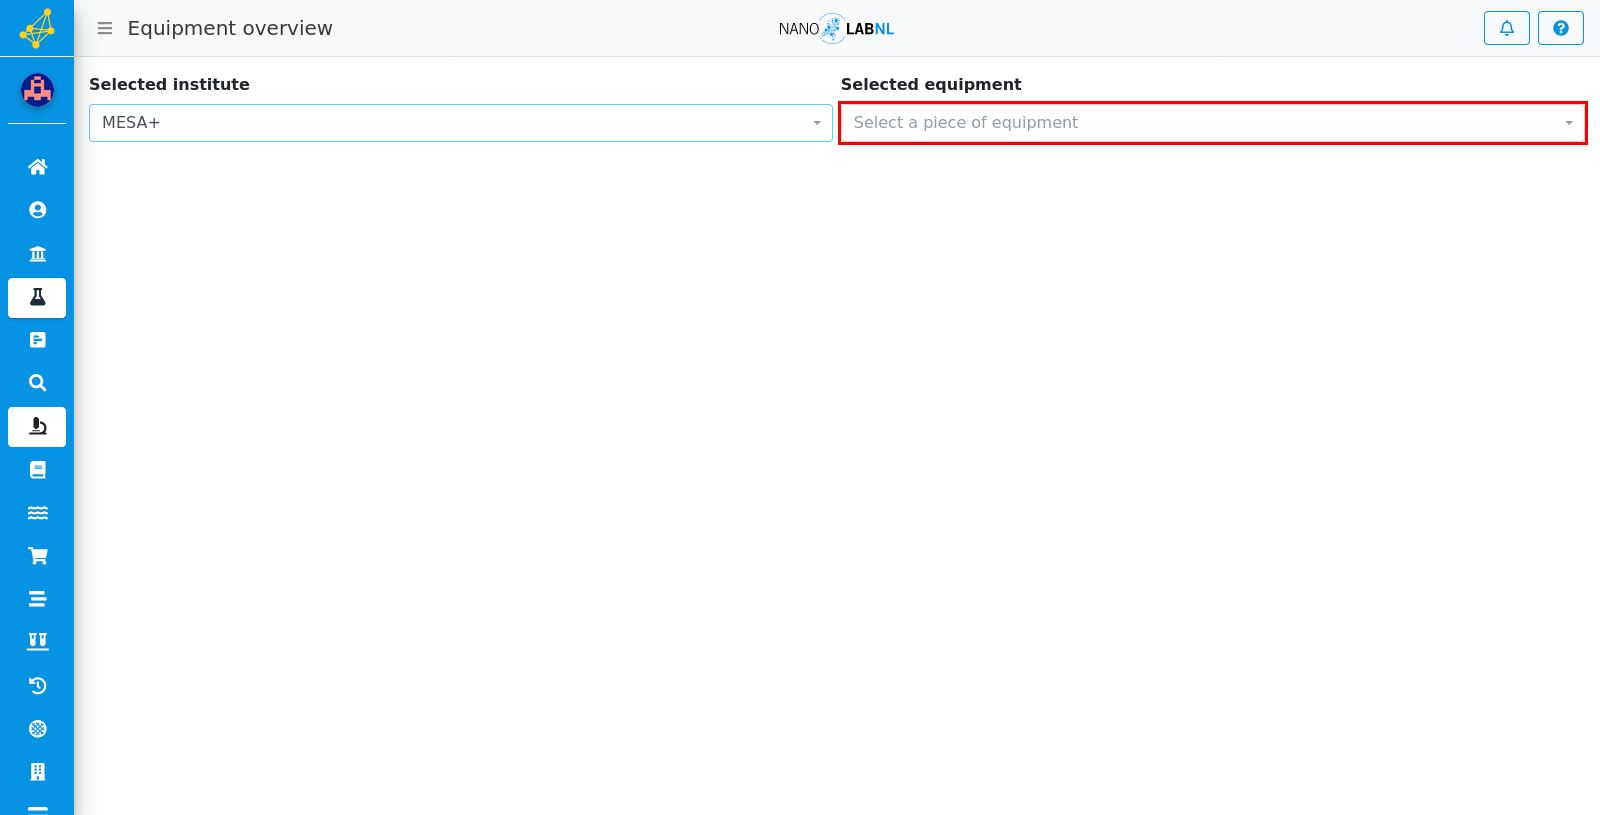
Click on the drop-down under "Selected equipment" to select a piece of equipment.
Step 7
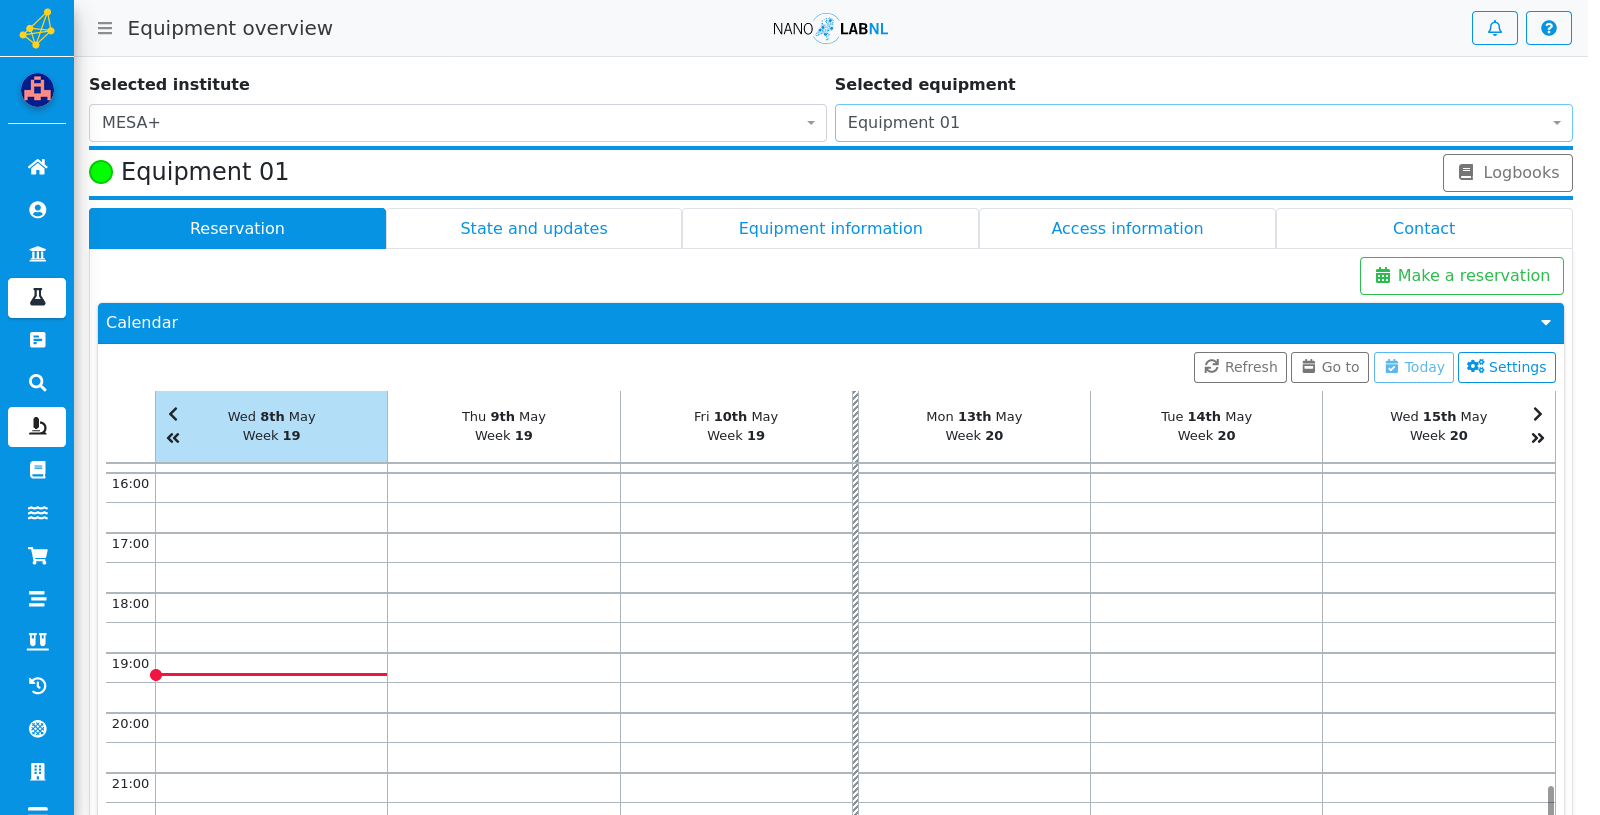
Here, we can see when the piece of equipment we have selected is available, and we can click on the different tabs to get more information. For example, the last tab ("Contact") shows us who is responsible for this machine, and how we should contact them, and through "Access information" we can request access to the equipment. Overall, this page is very useful for new users that are getting to know what is possible in the lab.
Step 8
It is important to know that for some types of machines, the user needs to have followed a course to be allowed to work with the machine. NIS provides the ability to plan courses and also allows questionnaires to be taken right in the system. More about this can be read in the corresponding manuals, under Courses in the sidebar of the documentation website.